It all started in 7th grade when I took a family vacation to Florida and came back as pasty as I left, except maybe with a few new freckles on my arms. My best friend at the time put her forearm next to mine in Math class and laughed at how much darker she was than I and she hadn’t even been to a beach (maybe ever?). I was so embarrassed.
Fast forward several years and I’m proud to consider myself an expert on sunless tanning options. I’ve been testing them out since the 10th grade. I have to say, we’ve come a long way from the sunless tanning lotions that smelled terrible, looked orangey and left a stain on your palms for days. But even with some of the best self tanners, there’s a little prep work required to get your most customized, natural-looking tan that lasts beyond 7 days and fades naturally.
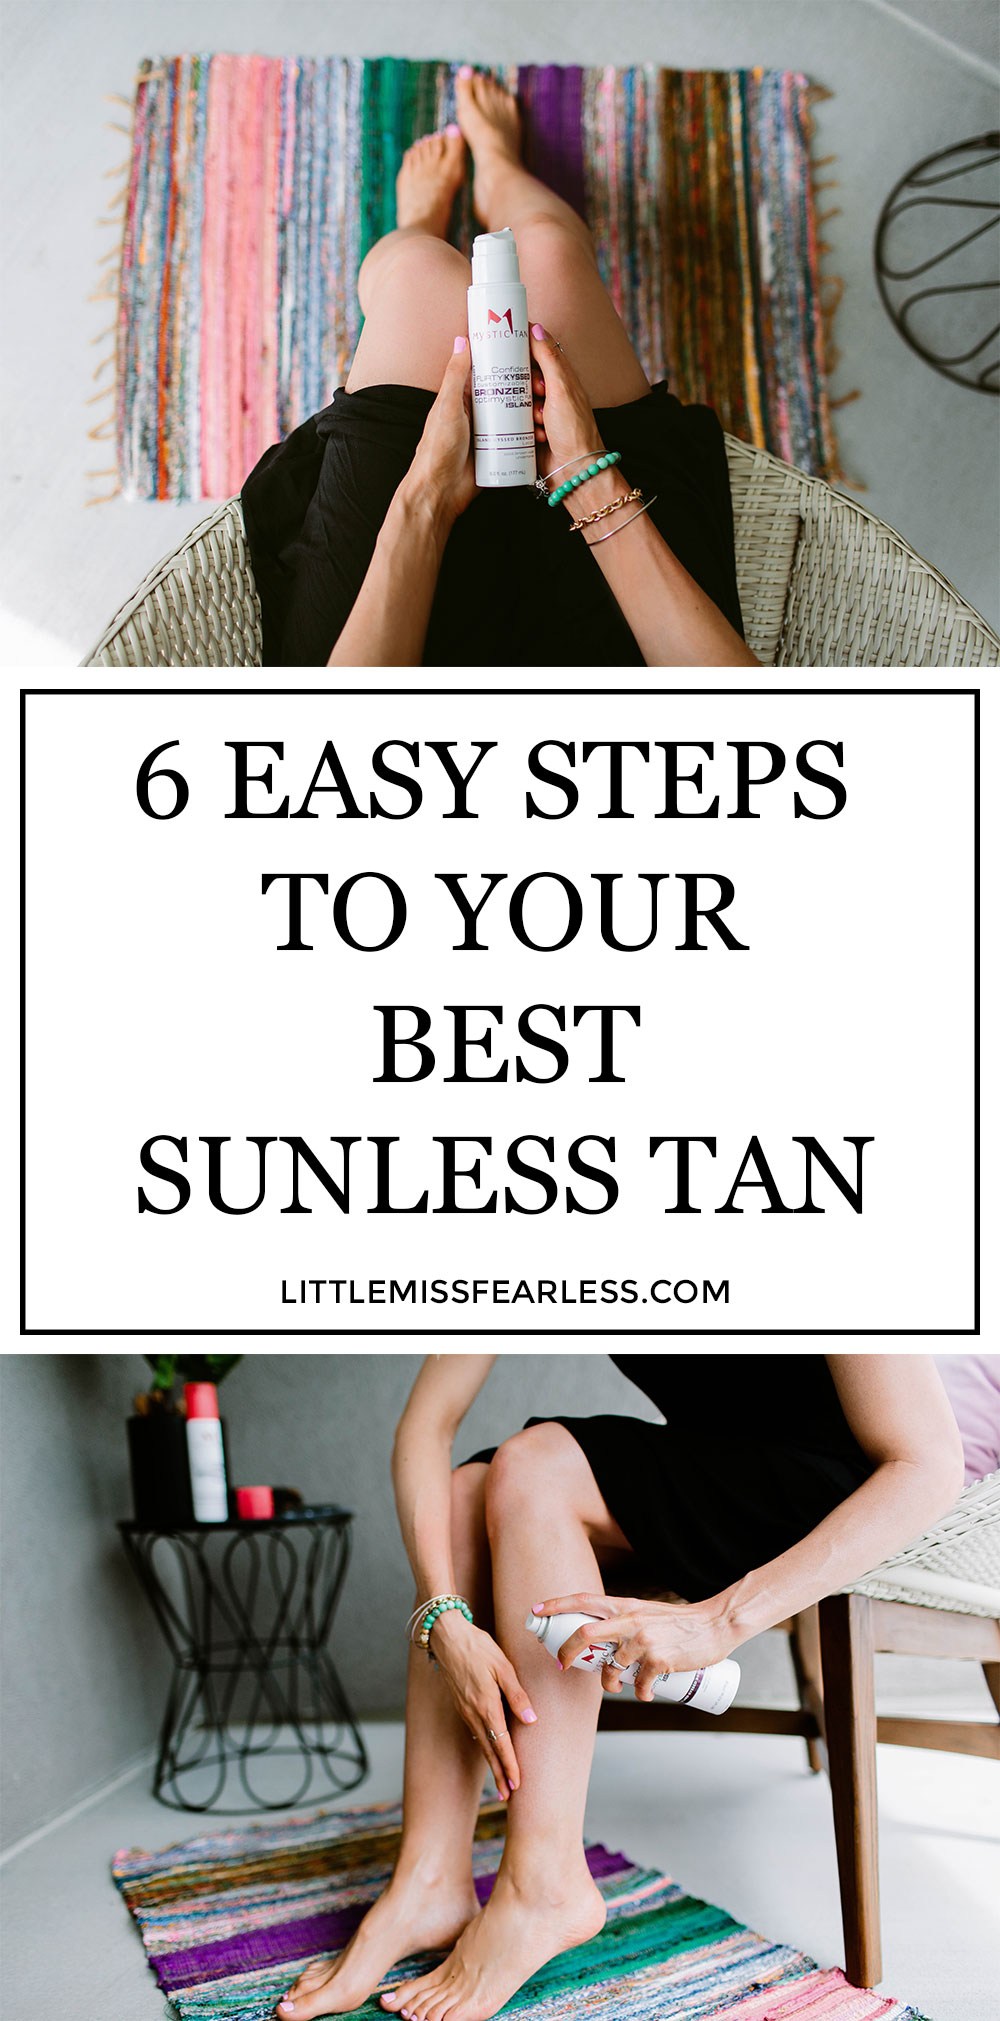
Here are the 6 steps I follow every time, regardless of the self-tanning product I’m using…
Step 1: Shave/Exfoliate
Shaving is partially an exfoliator, but it’s especially important to ensure the sunless tanner doesn’t darken your leg hairs (which would obvs only make them more visible). Shave at least one day before applying your sunless tanner, otherwise, your pores will sting when applying and could appear darker.
To exfoliate, I highly recommend an exfoliating mit ($20 via Amazon), rather than relying on your body wash alone. I use my mit a couple times leading up to the day I plan to use my sunless tanner to prepare my skin and also remove any previously applied self tanner that may still be lingering on my feet, hands or elbows.
Step 2: Moisturize
Moisturizing can certainly create a barrier for your self-tan if not done correctly, but it’s also super helpful for obtaining a smooth, even tan. The day before I plan to use my sunless tanner, I apply this unscented body lotion (don’t laugh) right after I shower and my skin drinks it right up. It helps eliminate any unevenness or issues with ingrown hairs (I swear I get ingrown hairs every time I don’t moisturize) and it doesn’t sting after I’ve shaved.
Critical tip: Shower one more time before applying the sunless tanner to remove your moisturizer. I usually shower right before I do my sunless tan.
Step 3: Choose Your Signature Look (Cool Browns vs Warm Browns)
To find the best color for your skin tone, it’s helpful to know the undertones of your self tanner, i.e., cool or warm. Cool browns typically give a deep, exotic tan while warm browns give a more classic bronze or “day in the sun” look.
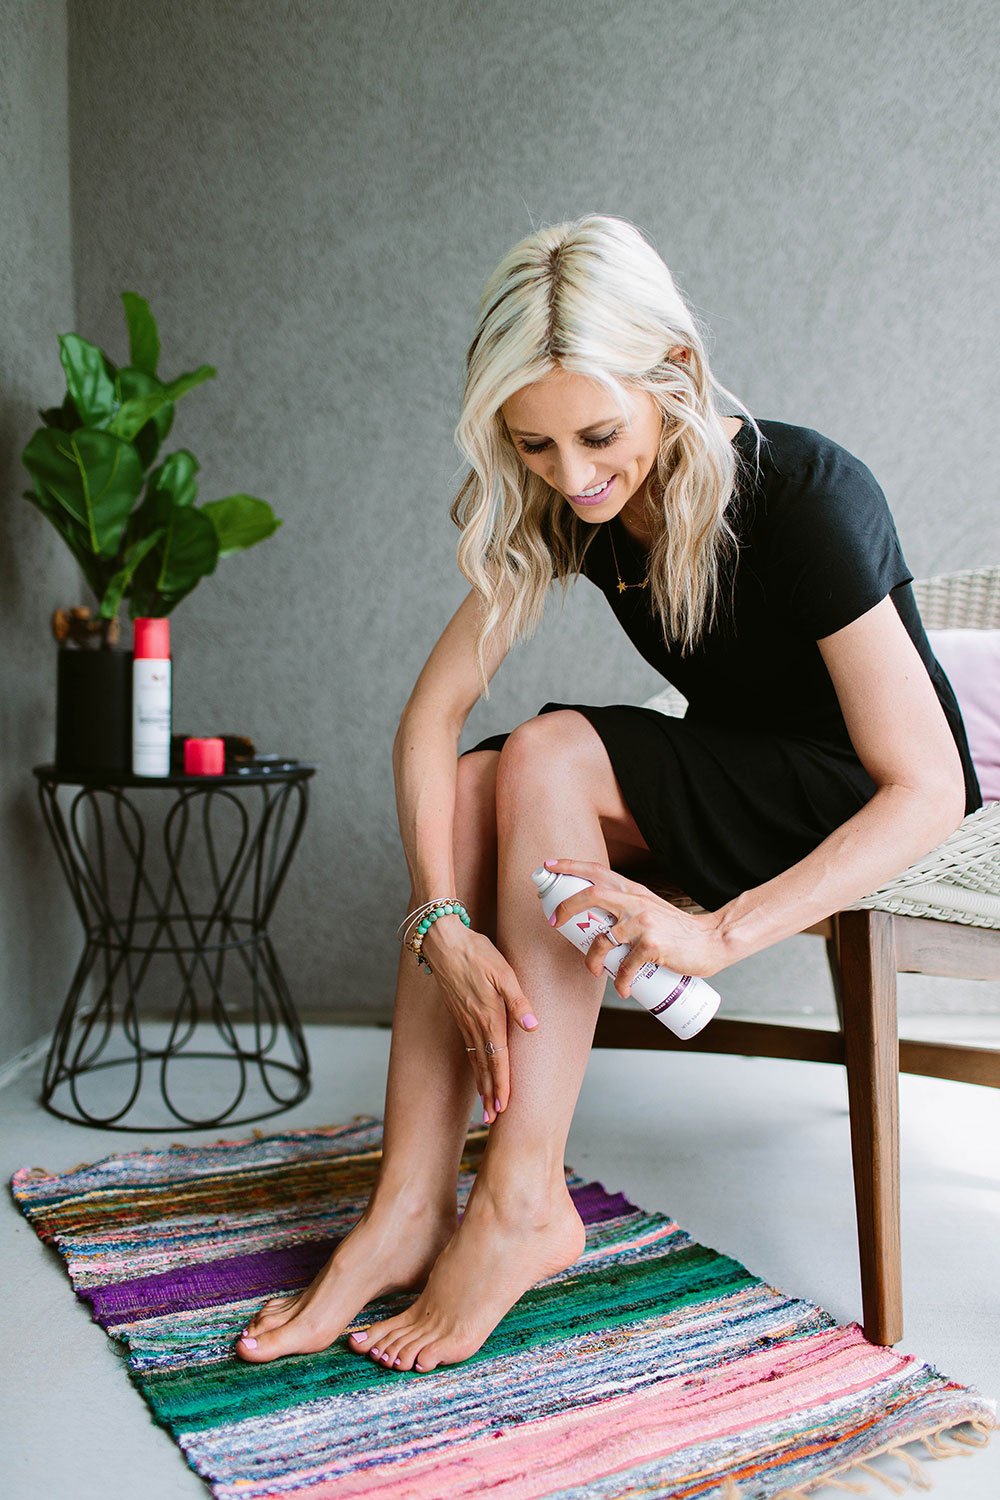
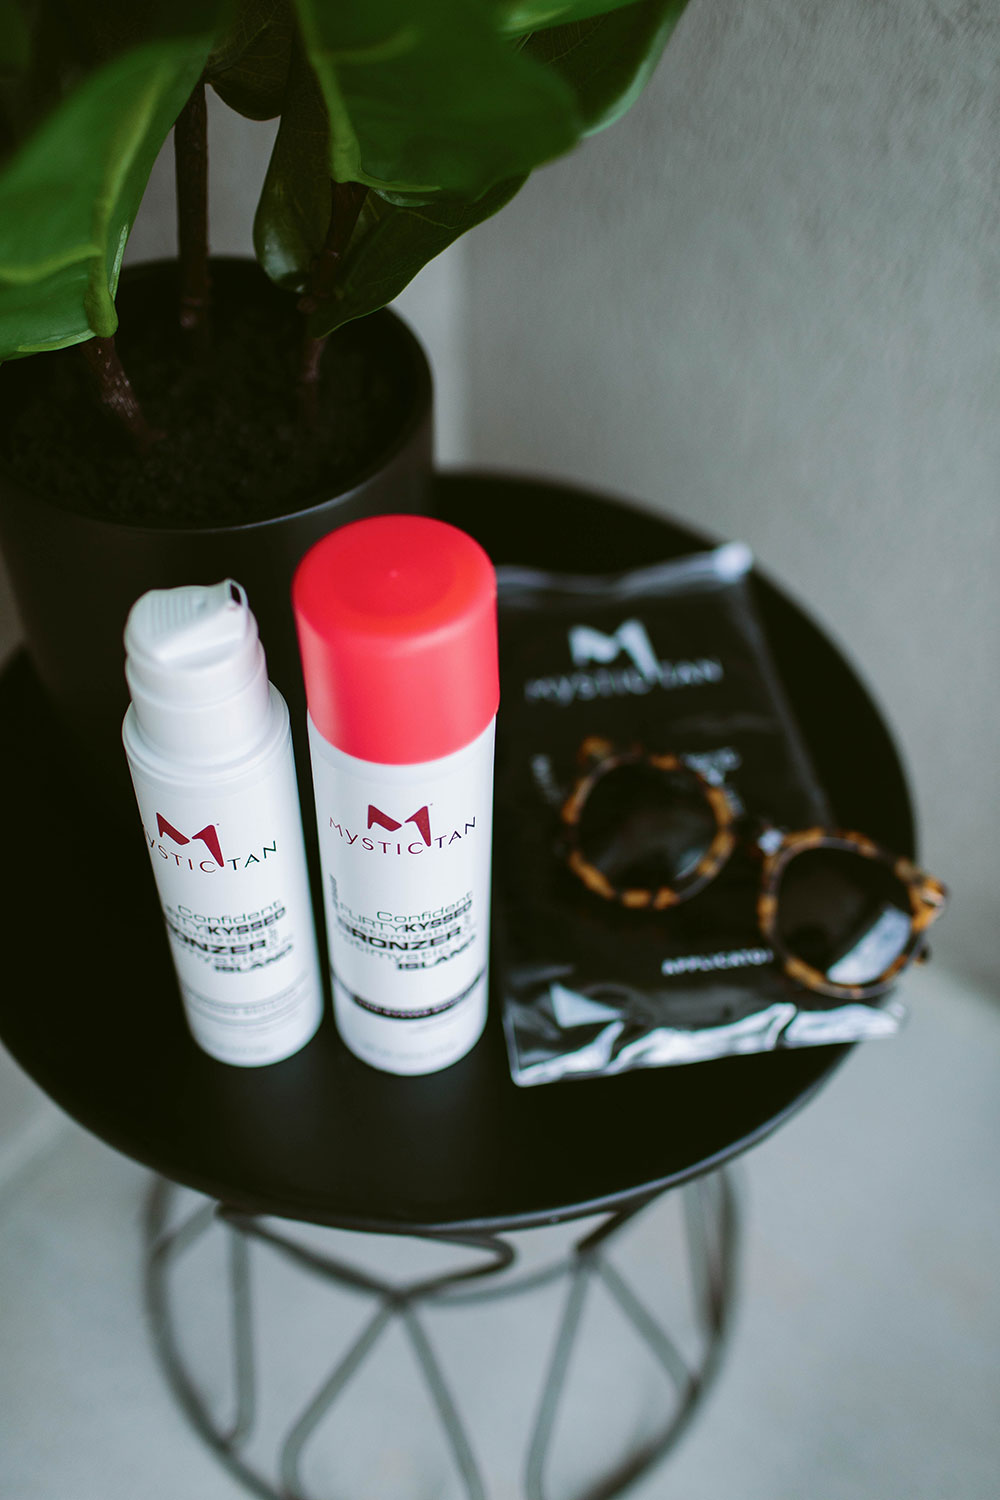
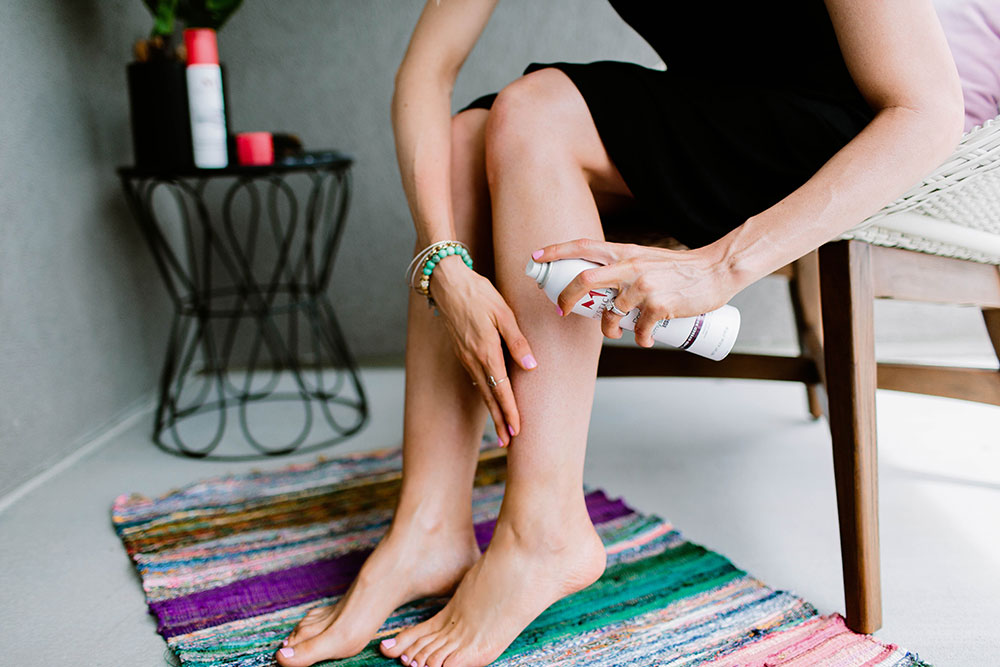
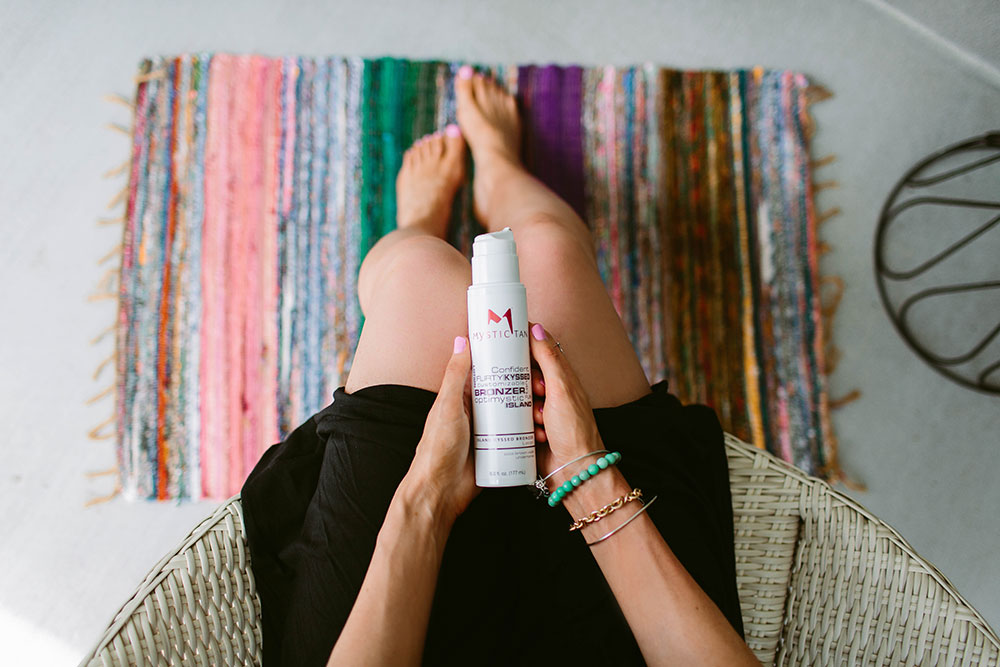
When I recently tried the self-tan spray and lotion (both with bronzer for easier application) from Mystic Tan, I chose cool browns with violet undertones for a deeper, exotic tan. You’re probably already familiar with Mystic Tan if you’ve ever gotten a spray tan at a salon. I’ve never been disappointed with a Mystic Tan salon-tan and it was fun to try my hand at one from home. Just be sure never to spray your hands and feet directly. Instead, use the excess tanner on your applicator mitt to apply to those areas at the end.
(PS – Thanks to my friends at Mystic Tan, you can get 25% off your purchase with promo code: Fearless25. Valid through June 15, 2017.)
Step 4: Use a Velvet Applicator Mitt
For a long time, I’ve worn latex gloves to apply my self-tanners. I don’t particularly like sponge-like mitts that come with some mousse tanners and latex was much smoother on my skin… until I tried this applicator mitt from Mystic Tan. It’s incredibly soft and makes the application so much smoother and more efficient because you’re not going over the same areas a million times. Even if you have a favorite self tanner already, get this $12 applicator mitt. I don’t even know if it’s velvet, but it’s so soft and smooth.
Step 5: Shower
If you use a self-tanner with bronzer, the benefit is you can easily see where you’re applying it so you don’t miss any spots. The downside is, you have to shower it off in the morning or the color will rub off on your clothes (and it doesn’t look as natural as what’s underneath). Even if your self-tanner doesn’t have a bronzer, you may want to shower to remove the typical tanning odor. Of all the self-tanners I’ve tried, Mystic Tan smells the best. But the bronzers did require a shower afterwards (I just hate showering right now. #notimefordat).
Step 6: Moisturize
Lastly, I use my trusty moisturizer again after I shower to keep my skin happy and soothed. Self tanners typically dry your skin out so moisturizing regularly will help your tan glow and ensure it fades more evenly.
Thinking back to my 7th grade self, I of course wouldn’t change anything about that pasty, freckled girl. But I did learn through my passionate interest in being “as tan as possible” through high school that sunless tanners really are the way to go. Trust me, I worked at a tanning salon at the end of my senior year and spent a summer living in Maui where I soaked up every ray available, and while it’s fun to look back at the photos of how bronzed and glowing I was, I fear the damage I did to my skin during those years will come back to haunt me soon. I’m so grateful we have so many amazing self-tanners now. They’ve even become my go-to solution for sun-kissed skin when I’m on a beach vacation!
Have any questions for me? Let me know in the comments below!
Photos by The High Pines.
Special thanks to Mystic Tan for partnering on this post. Select products c/o Mystic Tan. All thoughts are my own.


Thank you for recommending the exfoliating mit. I’ve been thinking of using one for a long time.
Charmaine Ng | Architecture & Lifestyle Blog
http://charmainenyw.com
These are great tips! I’m a huge fan of self tanner.
I would have never thought to use a velvet applicator mitt! Such a clever tip! Also, I just want to say thank you so much for your kind words and taking the time read my story. It is rare to find people to dedicate their time and share their appreciation and I definitely think it says something about a person. I am amazed at what you’ve accomplishment and the fact that your work, blog, and a mom makes you a superwoman!
http://www.rdsobsessions.com